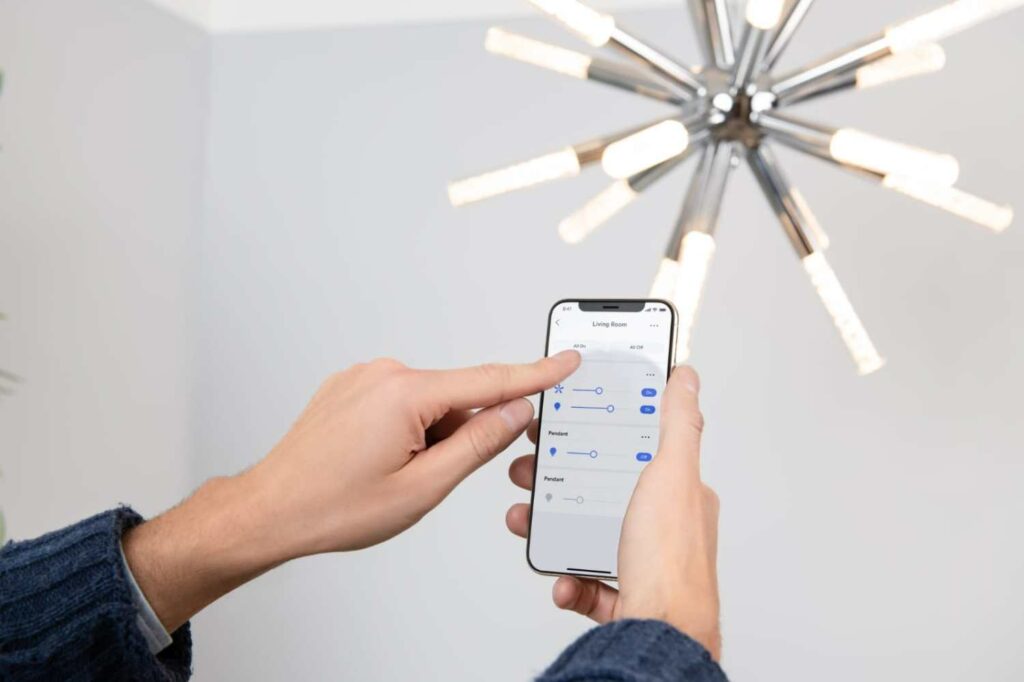
Just like a wireless lighting system works without wires, this system can also be installed without calling an electrician. What you need are a stable Wi-Fi connection, a smart fixture, a smartphone, and mounting hardware. You see how easy it is to get started.
A correctly installed wireless lighting system provides you with energy efficiency, convenience, and flexibility with the touch of a fingertip. Moreover, the smart hub used in this system also automates your home and connects other devices.
Are you still wondering about the installation of wireless lighting controls by yourself? Let’s break down every step of the process to make your DIY installation simple and successful.
Tools and Materials You Need
To install wireless lighting controls, you’ll need a few basic tools and materials:
- A stable Wi-Fi connection
- Smart bulbs or wireless switches
- A compatible smart hub (if required)
- A smartphone or tablet
- Basic tools like a screwdriver
- Mounting hardware (if needed)
- User manual of your specific lighting system
Planning Your Setup
The key to successful installation lies in careful planning. Start by mapping out which areas of your home you want to control wirelessly. Consider factors like room usage, natural light patterns, and daily routines. This preparation phase helps you determine the number of devices needed and their optimal placement.
Choosing the Right System
When it comes to cordless smart lighting, there are numerous options available in the market. The most common types include:
Smart Bulbs: These simply replace your existing bulbs and connect directly to your home network.
Wireless Switches: These can control existing bulbs and fixtures
Smart Plugs: Perfect for controlling lamps and other plug-in lighting equipment
Hub-Based Systems: These create a central control point for all your lighting needs
Step-by-Step Guide to Installing Wireless Lighting Controls
Today’s smart lighting makes home automation accessible to everyone. Following these simple installation steps will help you transform your traditional lighting into a modern, wireless system.

Setting Up Your Network
- Ensure your Wi-Fi network reaches all areas where you plan to install wireless lighting
- If needed, consider a Wi-Fi extender to boost signal strength in remote corners
- Download the manufacturer’s app on your smartphone
Installing Smart Bulbs
- Remove existing bulbs
- Screw in the smart bulbs
- Open the manufacturer’s app
- Follow the in-app instructions to connect each bulb
- Test the connection before moving to the next bulb
Mounting Wireless Switches
- Choose the mounting location
- Clean the surface thoroughly
- If using screws, mark and drill pilot holes
- For adhesive mounting, apply the backing firmly
- Hold the switch in place for 30 seconds
- Pair the switch with your system following app instructions
Test and Configure
Turn the power back on and test your new wireless lighting controls. Use the app to switch lights on and off, dim them, or change their colors if supported. Configure any schedules or automation to suit your lifestyle.
Troubleshooting Common Issues
Even with the simplest systems, you might encounter issues.

Here’s how to resolve some common problems:
- Connection Issues: Ensure your hub or devices are within the range of your Wi-Fi router.
- Device Not Responding: Restart the app or power cycle the device.
- Compatibility Problems: Verify that your lighting controls are compatible with your existing fixtures or smart home ecosystem.
Safety Considerations
While wireless lighting is generally safe to install, remember these precautions:
- Always turn off the power at the breaker when working with hardwired components
- Follow manufacturer guidelines carefully
- Keep installation manuals for future reference
- Don’t overload wireless networks with too many devices
By following these guidelines, you can successfully install and manage your own wireless lighting system. The initial setup might take a few hours, but the long-term benefits of enhanced control, energy savings, and modern convenience make it well worth the effort.
Conclusion
Installing wireless lighting controls without professional help is entirely achievable with the right tools and guidance. By following this step-by-step process, you’ll enjoy the benefits of a cordless lighting solution in no time. Whether it’s for convenience, energy savings, or just the sheer joy of modern technology, wireless lighting is a safe investment for any home. So, start your DIY experience today and transform the way you interact with your home lighting.

